Schedule Routes |
|

Route scheduling can be completed for single or multiple routes with the option to specify actions and change truck, driver and helper as changes occur. Also see Related Tasks.
Important Note: Once a route has been Scheduled, any changes made to the Permanent Route such as; Add New Customer, Remove Customer, Change in Services, etc., will not appear until the next time the route has been Scheduled. Therefore, it is recommended that users try to Schedule Routes as late in the day as possible to account for any of these permanent changes.
- Right click on a Not Scheduled or Call Scheduled route.
- Select Print & Schedule This Route or Print & Schedule Routes to schedule multiple routes.
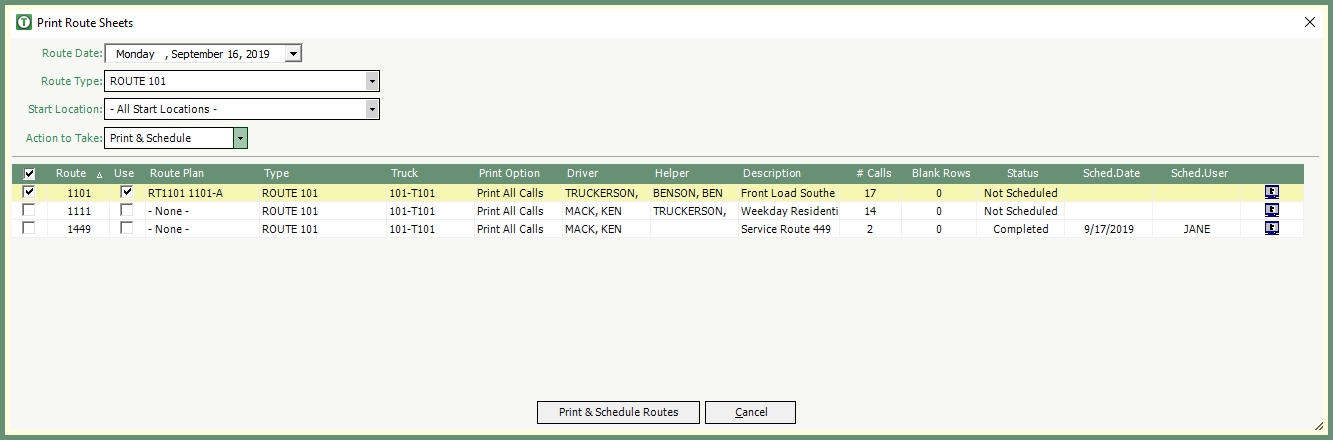
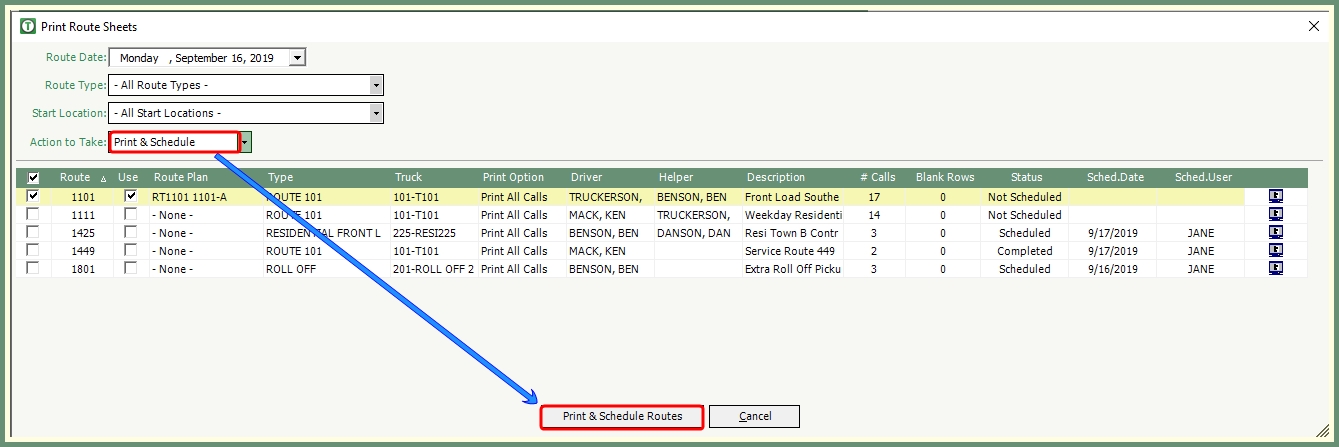
- Modify Route Date, Route Type, Start Location from default if needed.
- Select an Action to Take: Print & Schedule, Print Only or Schedule Only.
- Verify and/or select the routes ti be scheduled.
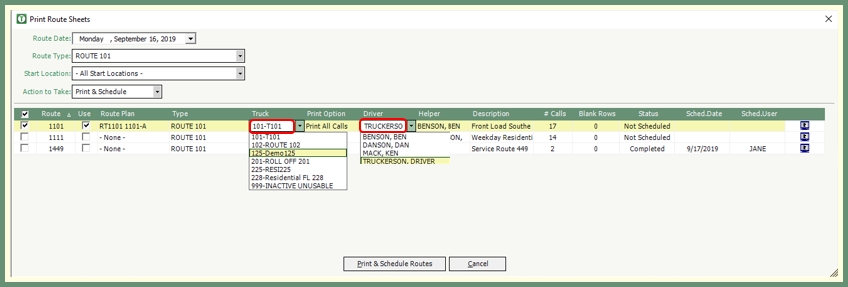
- Truck, Driver and Helper can be changed if needed by clicking on the field and selecting the field drop down arrow.
- Select Print Options from drop down if other than the default:

- Print All Calls: Includes Stopped/Suspended calls and calls Not This Week as well as calls to be serviced.
- Print Scheduled Calls Only: Only the calls that need to be serviced will be printed.
- Print Changes Only: Only new or changed calls to the route will be printed.
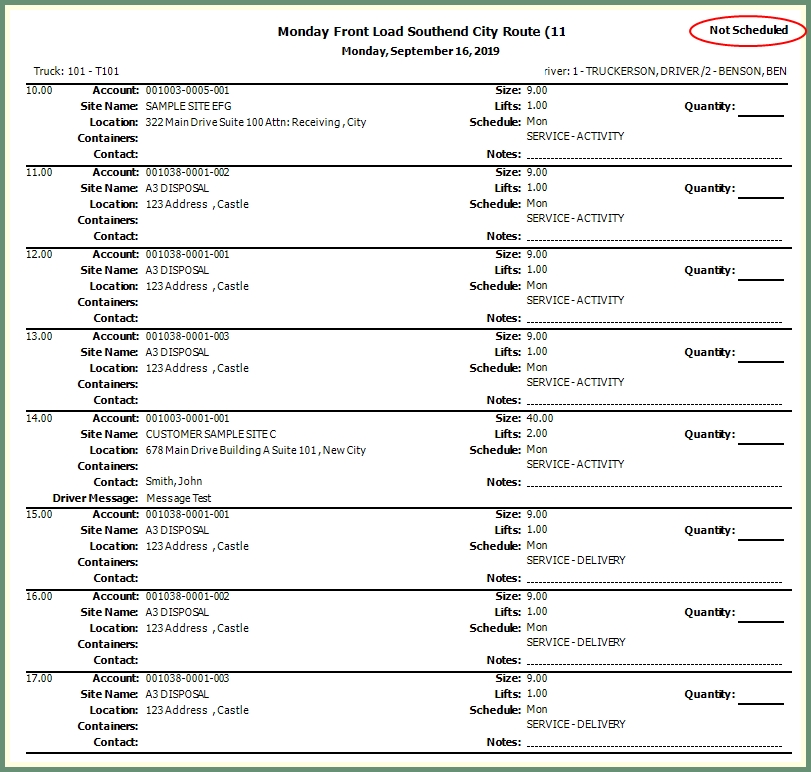
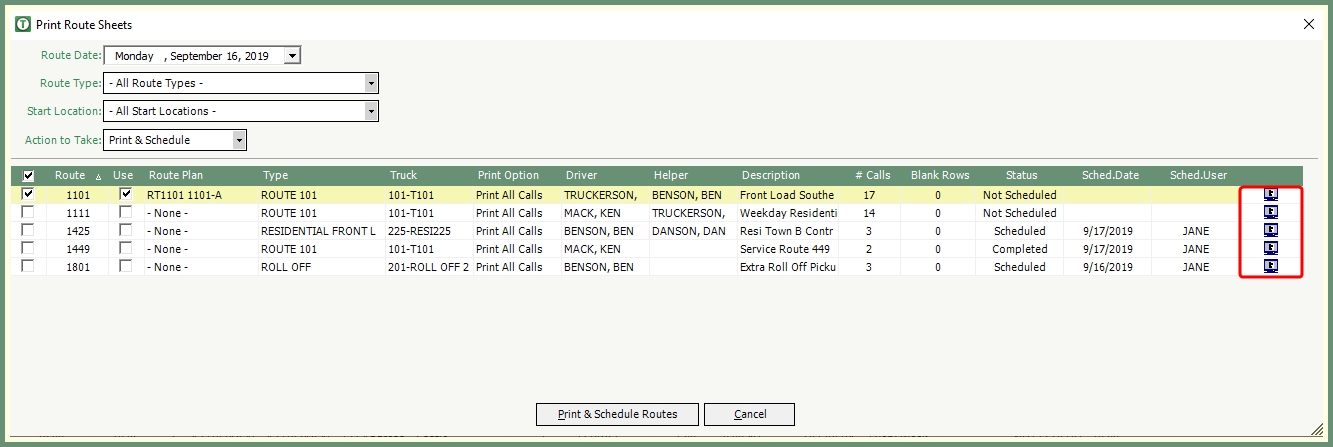
- Preview a route by clicking on the screen image button in the far right column. Route can be previewed before the route is scheduled.
- Complete the action by clicking the respective button at the bottom of the screen: Print & Schedule, Print Only or Schedule Only.
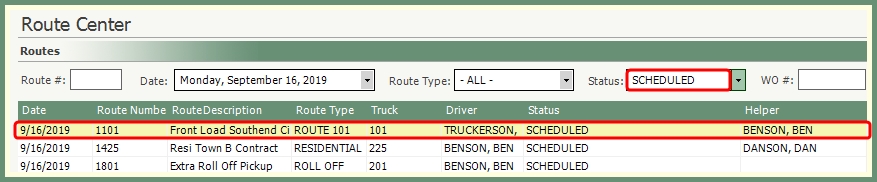
- Route status will be updated to Scheduled and appear in the Scheduled Routes grid.