Customer Entry Field Descriptions
Below you will find a description and necessary links to each of the entry fields for Customer Entry Step 1, Step 3 and Step 4. Also see Related Tasks.
Step 1 - Customer/Site Entry Field Descriptions
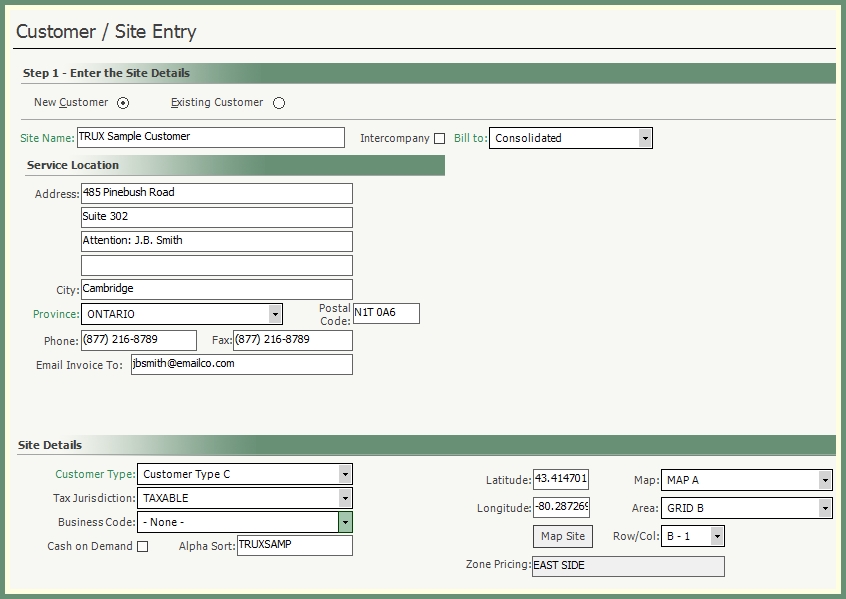
New Customer: Defaults for new customer entry details.
Existing Customer: When adding a site to an existing customer; Cust # field will open.
- Enter or Search for the existing customer number to apply the new site to.
Site Name: Enter name of new customer/site. When New Customer is selected, both the Customer and Site name will be the same and can be changed if needed in Customer Explorer
Intercompany: Select when the new customer is an intercompany account.
Bill To: Select the applicable customer Bill To type which determines how the account will be billed.
- Consolidated: One Invoice For All Sites and Displays Total Account Balance for All Sites
- Separate A/R Customer: One Invoice Per Site and Displays Total Account balance for ALL SITES even though it's a separate invoice per site.
- Separate A/R: One Invoice Per Site and Invoice and Account Balance is for the Site Only.
See more details of each Bill To type in Customer Explorer: Bill To.
Address: Four address line entries, city, province/state, postal/zip codes, phone and fax details to be populated as applicable to this customer/site.
Email Invoice To: The email address for the recipient of the invoices emailed from TRUX.
Site Details
Customer Type: Indicates the type of customer associated with this new entry based on your company defined customer type code table.
See more details in Customer Type and Customer Type Cash Application.
Tax Jurisdiction: Applicable tax jurisdiction for this customer/site.
Business Code: (Optional) applicable business type code for this customer/site.
Cash on Demand: Only selected if this customer/site will pay on demand per service and will not receive an invoice.
Alpha Sort: Automatically populates with the customer name but can be manually edited if needed.
Latitude/Longitude: Populates with geocoded coordinates when Map Site is selected.
Map: Select from the pre-defined map names.
Area: Select from a pre-defined grid area applicable to the selected map.
Row/Col: The section within the map and grid area selection.
Zone Pricing: Automatically populates based on map selections if zone pricing is applicable.
Step 3 - Define Additional Services
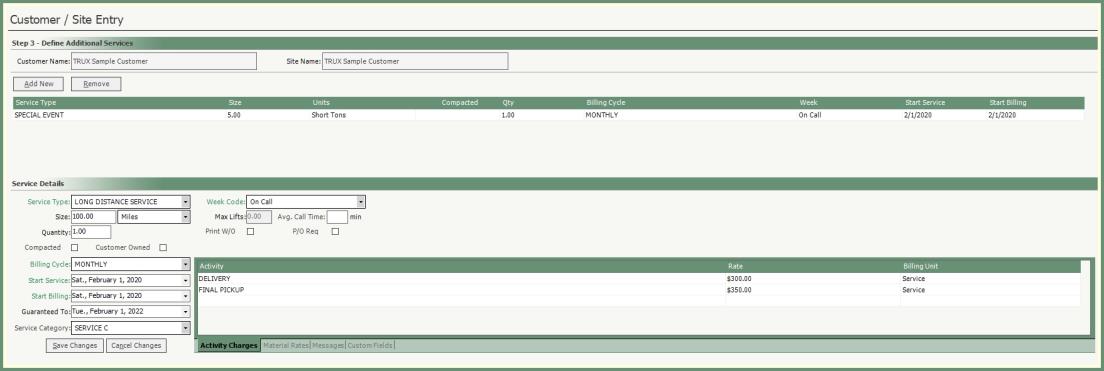
Service Type: The Service Type is based on the type of service you provide to your customers. Service Types are used to associate services with routes, calls, etc.
Size: A numerical value which is combined with a Unit of Measure to give you the size of a container or service.
Quantity: Stores a numeric value, up to 5-digits and 2 decimal places, which represents how many items exist for this service.
Compacted: Indicates if the contents of a container or service are compressed.
Customer Owned: Indicates if the container belongs to the customer.
Billing Cycle: Drop down selection of pre-defined billing cycles. Select which billing cycle applies to this service.
Week Code: Routed service frequency by On , or .
Max Lifts/Week: Maximum number of lifts per week.
Call Time Avg. min: Average call time minutes. Typically used with Route Modeling.
PO Req.: Will require a purchase order number to exist when scheduling a call-in when this option is selected.
WO Req.: A work order number will be assigned to all scheduled calls and call ins for this customer/site when this option is selected.
Start Billing Date: Date to start calculating period charges to be billed.
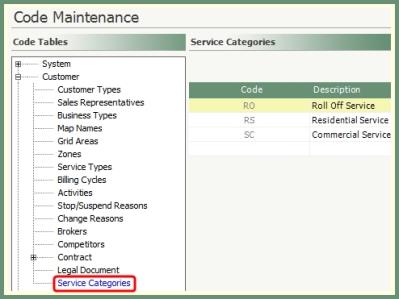
Service Category: Optional selection of pre-defined .
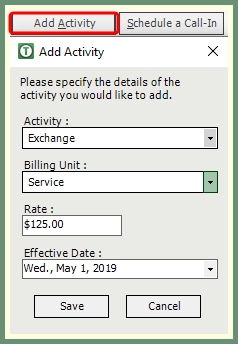
Activity: Add pre-defined activities applicable to this service.
Step 4 - Additional Site Information
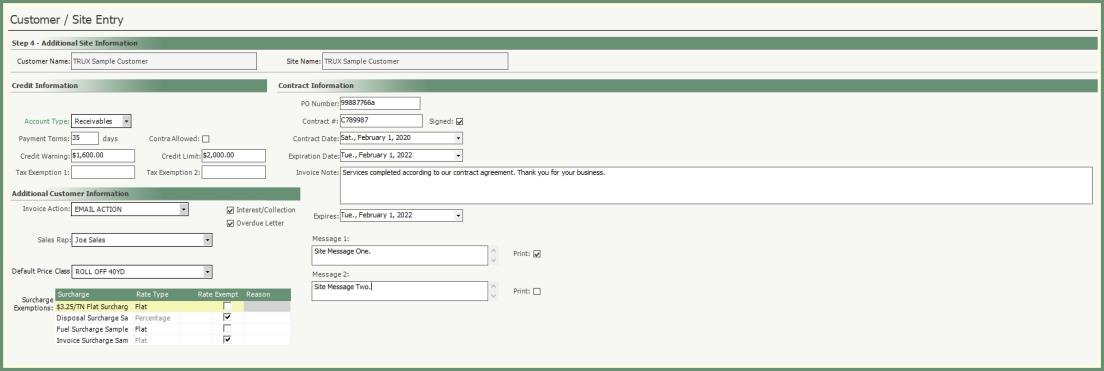
Credit Information
Account Type: Selection Required.
- Receivables: For customers that will produce debit transactions to be created on a receivables invoice.
- Pay Rebates: When customers have both Debit and Credit transactions on the account, TRUX will generate based on the transaction amount type. Debit transactions will be placed on one invoice and Credit transactions will be placed on another.
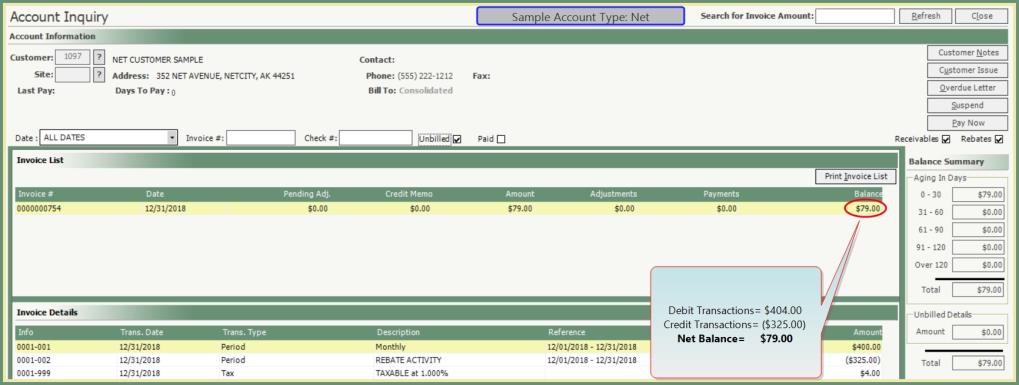
- Net: When customers have both Debit and Credit transactions on the account, TRUX will only generate a single invoice with the balance of all transactions and classify as a Receivables Invoice or Rebates Credit Invoice accordingly.
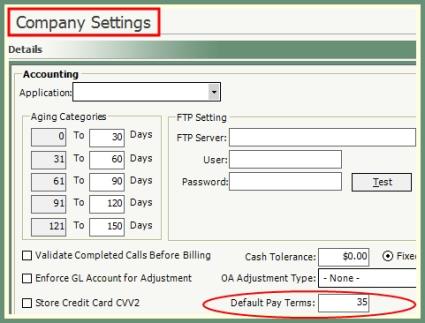
Payment Terms: Number of days in payment terms.
- Default Pay Terms can be pre-set in .
Contra Allowed: Setting indicates whether or not the customer allows you to offset Receivable amounts against Payable amounts to reduce the Rebate amount Paid to the customer.
See more in Customer Explorer Rebate Setup
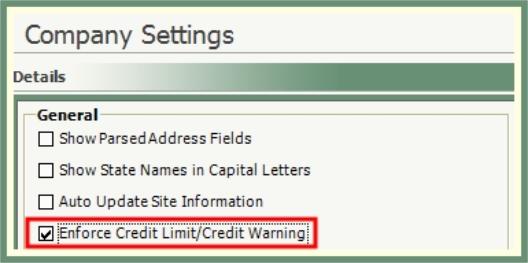
Credit Warning: When the customer account of unpaid unbilled and billed activity has reached the credit warning amount entered, a will appear when scheduling calls.
Credit Limit: When the customer account of outstanding unbilled and billed activity has reached or exceeded the credit limit entered, a will appear and calls cannot be scheduled.
- Enforce Credit Limit/Credit Warning will need to be enabled in .
Tax Exemption 1: Open entry data field to associate Tax Exemption.
Tax Exemption 2: Open entry data field to associate Tax Exemption.
Contract Information
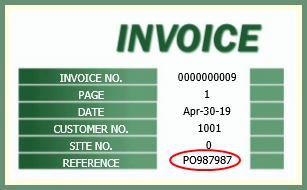
PO Number: Customer Purchase Order to be included on customer
Contract No: Contract number associated with this customer.
Signed: Selected for signed contracts.
Contract Date: Date of contract acceptance.
Contract Expiration: Date of contract expiration.
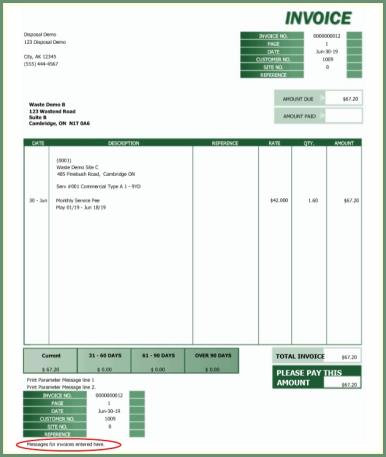
Invoice Note: Will print on the and will be printed on the invoice in addition to the invoice print parameter messages.
Expiration Date:The date the customer invoice message will expire.
Additional Customer Information
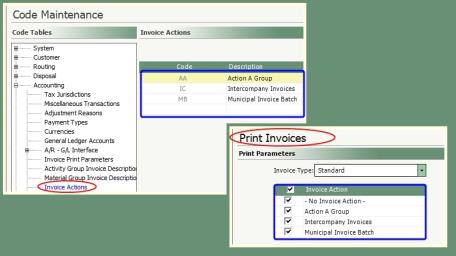
Invoice Action: Select an invoice action from the drop down if used. The invoices for this customer can be used as a grouping or filter when generating invoices by
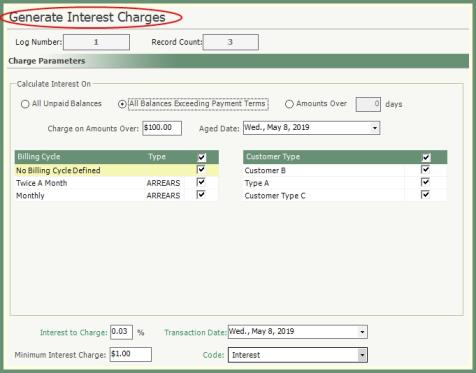
Charge Interest: When selected, the customer will be considered when running .
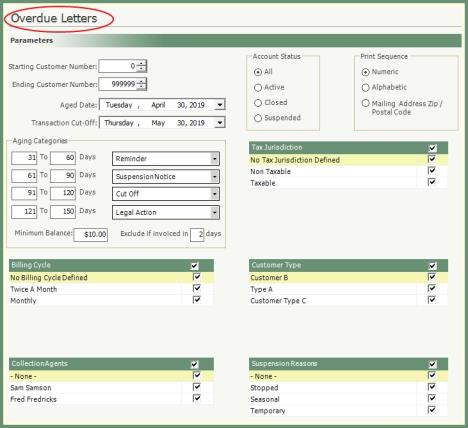
Overdue Letter: When selected, the customer will be considered when generating .
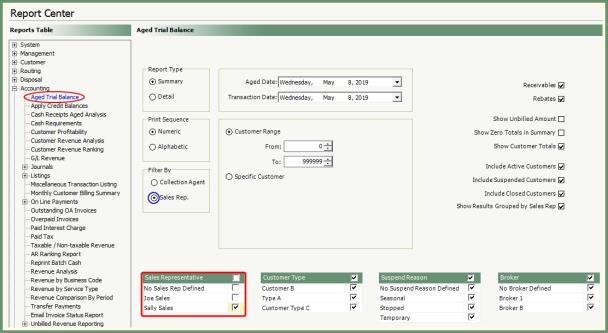
Sales Rep:Representative of sales associated with this customer. Can be used as a filter in various reports such as .
Default Price Class: (Optional). Select an available price class from the drop down to define a default Price Class to this site.
Message 1 & Message 2: Populate with pertaining messages for this site.
- Site Messages will be included on the .
- Select Print Message to include the message text on the .
Surcharge Exceptions: Review existing surcharge settings and update as applicable to this site.

